Your vehicle’s camshaft sensors play a crucial role in enabling the engine control system to pinpoint the precise location of the crankshaft drive, thanks to the assistance of the crankshaft sensor.
Working in tandem, these sensors inform the engine control of the top dead point in the first cylinder, a vital aspect for functions like sequential injection, pump-nozzle injection, and cylinder-selective knocking control.
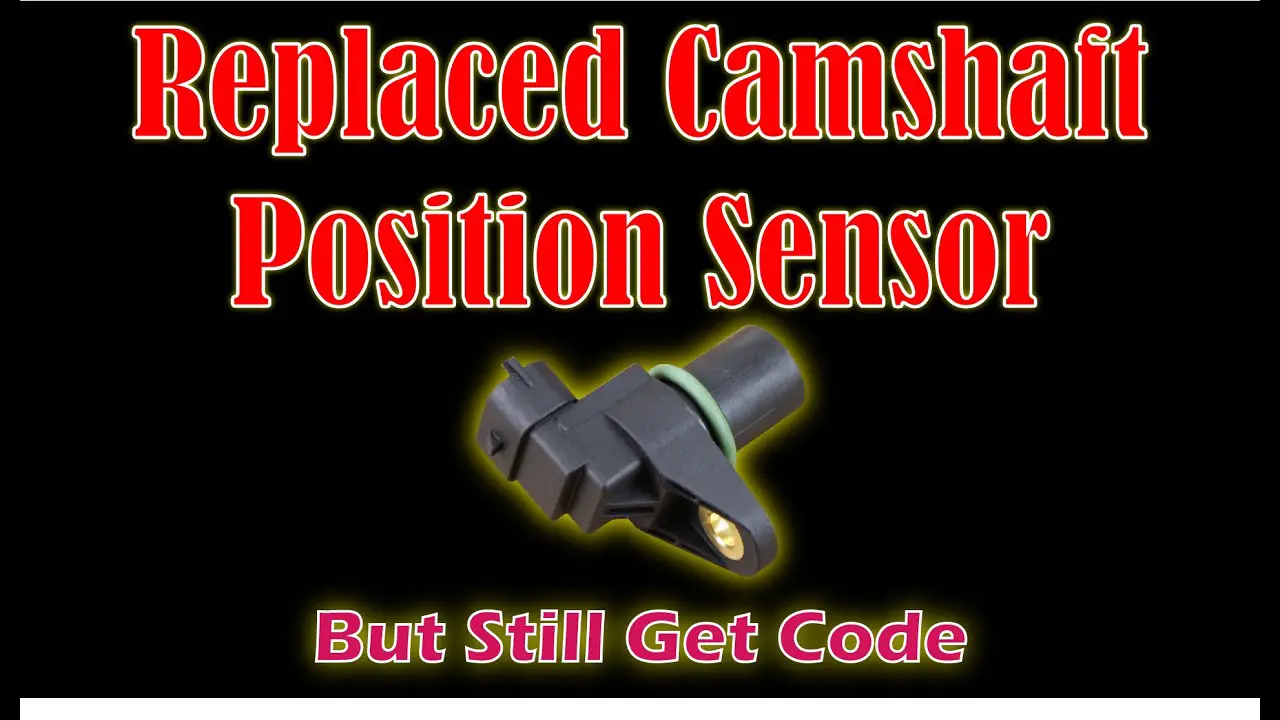
When confronted with a malfunction, it becomes imperative to replace a faulty camshaft position sensor to avert the risk of engine failure and a complete shutdown.
However, in exceedingly rare instances, the newly replaced camshaft position sensor might still malfunction.
Several factors could contribute to this uncommon issue.
As a result, your vehicle may display the P0340 error code, with a clear indicator of trouble being the illumination of the check engine light.
Recognizing any anomaly in the camshaft position sensor is crucial, and the check engine light serves as an immediate alert in such situations.
This guide provides comprehensive insights into the issue and offers a swift resolution to eliminate the error code promptly.
What does Error Code P0340 mean?

Error Code P0340 is an OBDII diagnostic code signifying a circuit malfunction with Camshaft Position Sensor A. This pertains to the entire circuit encompassing the sensor, comprising the powertrain control module and the electrical wiring. Consequently, merely replacing the sensor may not always resolve the issue.
This sensor serves the dual purpose of measuring the engine’s camshaft rotation speed and precisely tracking its position. The data is then transmitted to the PCM, which utilizes it to determine timing for fuel injection systems and ignition. Disruptions in the camshaft sensor’s signal can disturb the engine’s precise timings, resulting in various performance-related problems.
Such disruptions can lead to issues like suboptimal fuel-to-air mixes and misfires. In response, the PCM triggers Error Code P0340 and activates the Check Engine Light, signaling that a problem has arisen with your vehicle. Given that it is a generic powertrain code, this error is not exclusive to any particular make or model of vehicle.
Why Does an Error Code Appear After Replacing the Camshaft Position Sensor?
The camshaft sensor plays a crucial role in recording and synchronizing ignition and coil firing in your vehicle. Additionally, it manages the engine’s speed and position as the camshaft turns.
Utilized in various components of the automobile, the camshaft sensor serves consumers such as the Engine Control Module (ECM) and Powertrain Control Module (PCM). The ECM handles ignition timing, while the PCM is responsible for fuel management and other engine control operations.
Disruption of the signal from the camshaft position sensor can lead to misfires and suboptimal fuel-to-air mixtures, impacting engine timing. In response, the PCM generates a P0340 code and activates the Check Engine Light, alerting the driver to a malfunction.
The appearance of a P0340 code can spell trouble for any car. The resulting engine performance issues may make it challenging or even impossible for drivers to start the engine.
What are the Common Symptoms of The P0340 Error Code?
Should your vehicle be confronted with the P0340 error code, it could manifest specific symptomatic indicators pointing towards a circuit issue, including:
- Illumination of the Check Engine Light
- Stalling and hesitation during engine startup
- Complete engine shutdown, rendering it unstartable
- Cranking of the engine without successful ignition
- Rough running, accompanied by a lack of acceleration or misfiring
What are the causes of Error Code P0340?
The P0340 error code commonly originates from issues with the camshaft position sensor, although other factors may contribute to this problem:
-
Circuit Problems
The camshaft position sensor operates on electrical power. Any disruptions in the sensor’s electrical connector or wiring can trigger the P0340 code. Damaged wires, loose connections, or faulty grounds are potential culprits that can lead to the generation of this error code.
-
Damaged Camshaft Position Sensor Reluctor Wheel
The reluctor wheel, a notched wheel attached to the camshaft, plays a crucial role. Its purpose is to pass by the sensor’s teeth, thereby interrupting the magnetic field and generating an electric signal used by the Engine Control Module (ECM) and Powertrain Control Module (PCM). If this reluctor wheel sustains damage, it can result in the activation of the P0340 code.
-
Defective Camshaft Position Sensor
Another probable cause is the inherent malfunction of the camshaft position sensor itself. In such instances, replacement of the sensor becomes necessary. A new sensor can be acquired from local auto parts stores or online retailers.
-
Faulty Starter Motor
The starter motor, a small electric motor crucial for initiating the engine, can occasionally contribute to the occurrence of the P0340 code. A defective starter motor may lead to the activation of this error code and necessitate attention for resolution.
Also Read: Why Does My Car Have Low Oil Pressure After Oil Change?
How to Diagnose the P0340 Code
The presence of the P0340 code demands meticulous attention and thorough investigation, as overlooking it could lead to potential complications. If you lack substantial expertise in DIY automobile repairs, it is strongly advisable to entrust your vehicle to a skilled and professional mechanic.
When confronted with persistent error codes, especially after camshaft sensor replacement, the initial focus should be on the camshaft sensor itself. Assuming the replacement has already been performed, it becomes imperative to explore additional potential causes. Here’s a detailed checklist:
-
Check the Camshaft Reluctor Wheel for Damage
Examine the camshaft reluctor wheel for any signs of damage. This notched wheel, integral to the camshaft, plays a crucial role in interrupting the magnetic field and generating the necessary signal. Any impairment to this component can contribute to the activation of the P0340 code.
-
Inspect the Sensor’s Electrical Connector and Wiring
Thoroughly inspect the electrical connector and wiring associated with the camshaft sensor. Damaged wires, loose connections, or faulty electrical components can disrupt the proper functioning of the sensor, potentially triggering the error code.
-
Test the Starter Motor for Defects
Evaluate the starter motor to determine if it is functioning correctly. A defective starter motor can contribute to the persistence of the P0340 code. Testing the motor’s performance and addressing any issues can be crucial in resolving the problem.
-
Examine the Stability of Wiring and Connector
Ensure the stability and integrity of the wiring and connector associated with the camshaft sensor. Any disruptions or inconsistencies in these components can lead to communication failures and the generation of error codes. A comprehensive examination is essential for identifying and rectifying potential issues.
-
Diagnose the PCM (Powertrain Control Module)
Conduct a thorough diagnostic assessment of the Powertrain Control Module (PCM). The PCM plays a vital role in managing various engine functions, and any malfunctions in its operation can contribute to error codes. Professional expertise may be required to perform a detailed diagnosis of the PCM.
How to Fix the P0340 Code
As mentioned earlier, several potential solutions exist for the error code, contingent upon the successful diagnosis that pinpointed the underlying problem. Explore specific remedies below that can be employed to resolve the error persisting despite the replacement of the camshaft position sensor in your vehicle:
Method 1: Recalibrate or Relearn The Sensor
Following the replacement of the sensor, failure to undergo relearning may result in your car’s ECU retaining data from the previous sensor, triggering the error code. To ensure proper retraining of the camshaft position sensor, follow the steps outlined below:
- Start your car and connect an OBDII scanning tool. Choose your vehicle’s make and model using the tool or utilize the “Auto Detect” feature.
- Navigate to the diagnosis section, then select Control Unit > Powertrain > ECM (Engine Control Module).
- Choose the “Cam crank relearn” option, followed by selecting “Special Functions.” In a new window, you will receive information about the retraining status; simply choose “OK.”
- Turn on the engine and start the car. Wait until the engine coolant reaches the desired temperature or gradually increase your car’s speed to achieve it. Once the adequate temperature is reached, the relearning process will initiate automatically.
Method 2: Check its O-Rings
Proper functioning of the camshaft position sensor necessitates the use of two O-rings. While the sensor comes with one O-ring, the additional O-ring is supplied by the vehicle manufacturer. It is a common mistake for individuals to attempt to install a new O-ring alongside the old one, leading to installation complications and the emergence of issues.
Therefore, it is crucial to remove the old O-ring before attempting to install a new one. Additionally, ensure that you utilize the original O-ring, and thoroughly clean it before incorporating it into the installation process.
Method 3: Check and Fix The Sensor Wiring
If the relearning process proves ineffective in resolving the error, it is possible that a wiring issue transmitting signals to the Engine Control Unit (ECU) is the underlying cause. To thoroughly examine the status of the camshaft position sensor wires, follow these detailed steps:
- Check the Wiring Diagram
Begin by referring to the wiring diagram associated with the camshaft sensor. Identify the three wires, distinguished by their color, namely the power supply, sensor ground, and sensor signal.
- Verify the Power Supply
Utilize a multimeter to measure the voltage of the power supply wire. Ideally, the voltage should hover around 5 amps for the proper functioning of the sensor.
- Test the Sensor Ground Circuit
Confirm the continuity of the ground circuit by using the multimeter. Check for a seamless connection between the ECM wiring harness and the sensor wiring harness, ensuring that the ground circuit is intact.
- Check the Sensor Signal Circuit
Lastly, assess the continuity between the cam sensor and the ECM harness, specifically focusing on the sensor signal circuit. Identify any damaged wires in this circuit and promptly replace them to ensure an uninterrupted signal transmission.
By meticulously examining the camshaft position sensor wiring using these steps, you can identify and address any issues within the wiring system that may be contributing to the persistent error.
Regular checks and timely replacements of damaged wires will help maintain the integrity of the sensor’s electrical connections and facilitate accurate signal transmission to the ECU.
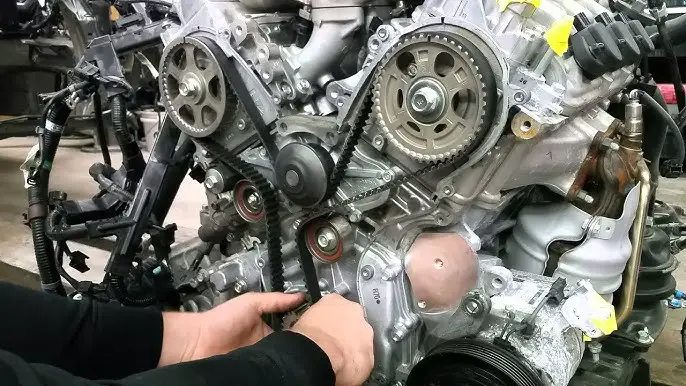
Method 4: Inspect The Reluctor Wheels
After sensor replacement, ensure proper alignment with the reluctor wheels. Most vehicles feature sensors matching the wheel’s 20th teeth. Adjust accordingly and inspect for broken teeth, addressing any issues promptly.
Method 5: Inspect The Timing Chain and Starter Motors
Consider a thorough examination of the timing chain and starter motors if previous methods prove ineffective. Check for rust, wear, or breakage in the timing chain and replace if necessary. Evaluate the condition of starter motors, as substandard quality can impact signal transfer to ECUs, triggering the P0340 trouble code. Replace or repair as needed.
How to test camshaft position sensor
Testing a camshaft position sensor is a straightforward process that involves using a multimeter to measure electrical signals. Here’s a step-by-step guide on how to test a camshaft position sensor:
Materials Needed:
- Multimeter
- Safety glasses (optional)
- Vehicle service manual (for specifications and wiring diagrams)
Step 1: Safety First
Before you begin, ensure the vehicle is parked on a flat surface with the parking brake engaged. If you need to access the camshaft position sensor, follow proper safety procedures such as wearing safety glasses.
Step 2: Locate the Camshaft Position Sensor
Refer to your vehicle’s service manual to locate the camshaft position sensor. Typically, it is mounted near the camshaft, often on the cylinder head or timing cover.
Step 3: Disconnect the Sensor
Carefully disconnect the electrical connector from the camshaft position sensor. Depending on your vehicle, you may need to remove a plastic cover or air intake components to access the sensor.
Step 4: Set Up the Multimeter
Set your multimeter to the voltage setting. If you’re unsure about the appropriate voltage range, consult your vehicle’s service manual for specifications.
Step 5: Measure Voltage
With the ignition key turned to the “On” position (without starting the engine), probe the sensor’s terminals with the multimeter leads. The sensor typically has three wires: ground, signal, and power. Refer to your vehicle’s service manual to identify these wires.
- Ground Wire: Connect the black multimeter lead to the ground wire.
- Power Wire: Connect the red multimeter lead to the power wire.
- Signal Wire: The signal wire will carry a varying voltage signal. Connect the multimeter lead to the signal wire.
Step 6: Interpret the Readings
While observing the multimeter readings, have a helper crank the engine or turn the key to the “Start” position. The signal wire voltage should fluctuate as the engine rotates. If the voltage remains constant or shows no change, it indicates a faulty camshaft position sensor.
Step 7: Check for Continuity
If the voltage readings are abnormal, check for continuity in the sensor’s wiring. Use the multimeter in continuity mode to ensure there are no breaks or shorts in the wiring.
Step 8: Inspect for Physical Damage
Visually inspect the camshaft position sensor for any physical damage, such as cracks or exposed wires. Replace the sensor if any damage is detected.
Step 9: Reconnect the Sensor
After testing and, if necessary, replacing the camshaft position sensor, reconnect the electrical connector.
Step 10: Clear Error Codes (Optional)
If the Check Engine Light is illuminated, use an OBD2 scanner to clear any error codes. This step is optional but can be helpful to ensure that previous error codes are not affecting the system.
Remember, the specific procedures and specifications may vary based on your vehicle make and model. Always refer to your vehicle’s service manual for accurate information tailored to your vehicle.
Where is the Camshaft position sensor bank 1 location?
The specific location of the Camshaft Position Sensor (CMP) Bank 1 can vary depending on the make and model of your vehicle. In general, the term “Bank 1” refers to the side of the engine where the #1 cylinder is located. Here are some general guidelines:
Cylinder Identification
- The cylinders in an engine are usually numbered, starting from the front of the engine.
- On inline engines (with cylinders in a straight line), the cylinder closest to the front is typically labeled as #1.
- On V-shaped engines, the bank containing cylinder #1 is Bank 1.
V-Shaped Engine
- If your vehicle has a V-shaped engine, Bank 1 is usually the side of the engine where cylinder #1 is located.
- The Camshaft Position Sensor Bank 1 would be situated on the camshaft associated with this bank.
Inline Engine
- For vehicles with an inline engine, Bank 1 is typically on the side of the engine where cylinder #1 is positioned.
- The Camshaft Position Sensor Bank 1 would be located on the camshaft associated with this bank.
Consult the Service Manual
- Always refer to your vehicle’s service manual for accurate information specific to your make and model.
- The service manual will provide detailed diagrams and descriptions to help you locate the Camshaft Position Sensor Bank 1.
OBD-II Scanner
- If you have access to an OBD-II scanner, you may retrieve Diagnostic Trouble Codes (DTCs) that can help identify the location of the Camshaft Position Sensor Bank 1.
Online Resources
- Some online forums and resources specific to your vehicle make and model may provide additional guidance and insights from experienced users.
FAQs – Replaced Camshaft Position Sensor But Still Get Code
What to Do Before and After Replacing Camshaft Sensor?
Before replacing the camshaft sensor, it’s crucial to perform the following checks:
- Check Engine Oil Level and Quality
Ensure the engine oil is at an adequate level and is of good quality. Dirty or low oil can contribute to sensor failure.
- Inspect Connector and Wiring
Check the condition of the connector and wiring associated with the camshaft sensor for any signs of damage.
After replacing the camshaft sensor, follow these steps:
- Clear Codes and Test Drive
Clear any error codes using an OBDII scanner and take the car for a test drive. If the P0340 code persists, investigate further.
Can Fuel Injector Cleaners Cause Problems?
Yes, improper use of fuel injector cleaners can damage sensors. Always follow the instructions on the cleaner’s label.
How Often Should I Change My Engine Oil?
Change engine oil approximately every 5000 miles, but consult your owner’s manual for specific recommendations.
What Will Happen If you Never Change Differential Fluid?
Failure to change differential fluid can lead to premature wear of gears and other components, affecting the vehicle’s performance.
How Do you Reset a Camshaft Sensor Without a Scanner?
Disconnect the battery for a few minutes and reconnect it to reset the sensor. If the light returns, there may be another underlying problem.
What Causes a Camshaft Sensor to Fail?
Common causes include oil contamination, faulty wiring, a defective starter motor, or an issue with the PCM.
How Much Does it Cost to Replace a Camshaft Sensor?
Replacement costs vary but typically range between $100 and $200.
What Are Signals of A Failing Cam Sensor?
Check engine light illumination, poor drivability, and transmission shifting issues are indicators of a failing cam sensor.
How Much Does It Cost to Replace Camshaft Detectors?
Costs vary but average between $100 and $206. DIY processes can further reduce expenses.
What happens if we ignore a bad camshaft position sensor?
Ignoring a bad camshaft position sensor can lead to difficulties in starting the engine and potential damage to internal engine components.
Are the crankshaft position sensor and camshaft position sensor on the same place?
No, they measure engine revolutions per minute but are located in different positions, with the crank sensor considered primary and the cam sensor secondary.
Conclusion
Addressing a persisting P0340 code after camshaft sensor replacement demands thorough diagnostics.
Check wiring, inspect the new sensor, assess PCM functionality, and scrutinize the timing components.
If uncertainties persist, consulting a professional mechanic ensures a comprehensive resolution.
Remember, swift and accurate action guarantees optimal engine performance, preventing potential complications.
Drive safe, stay informed, and enjoy a trouble-free ride.