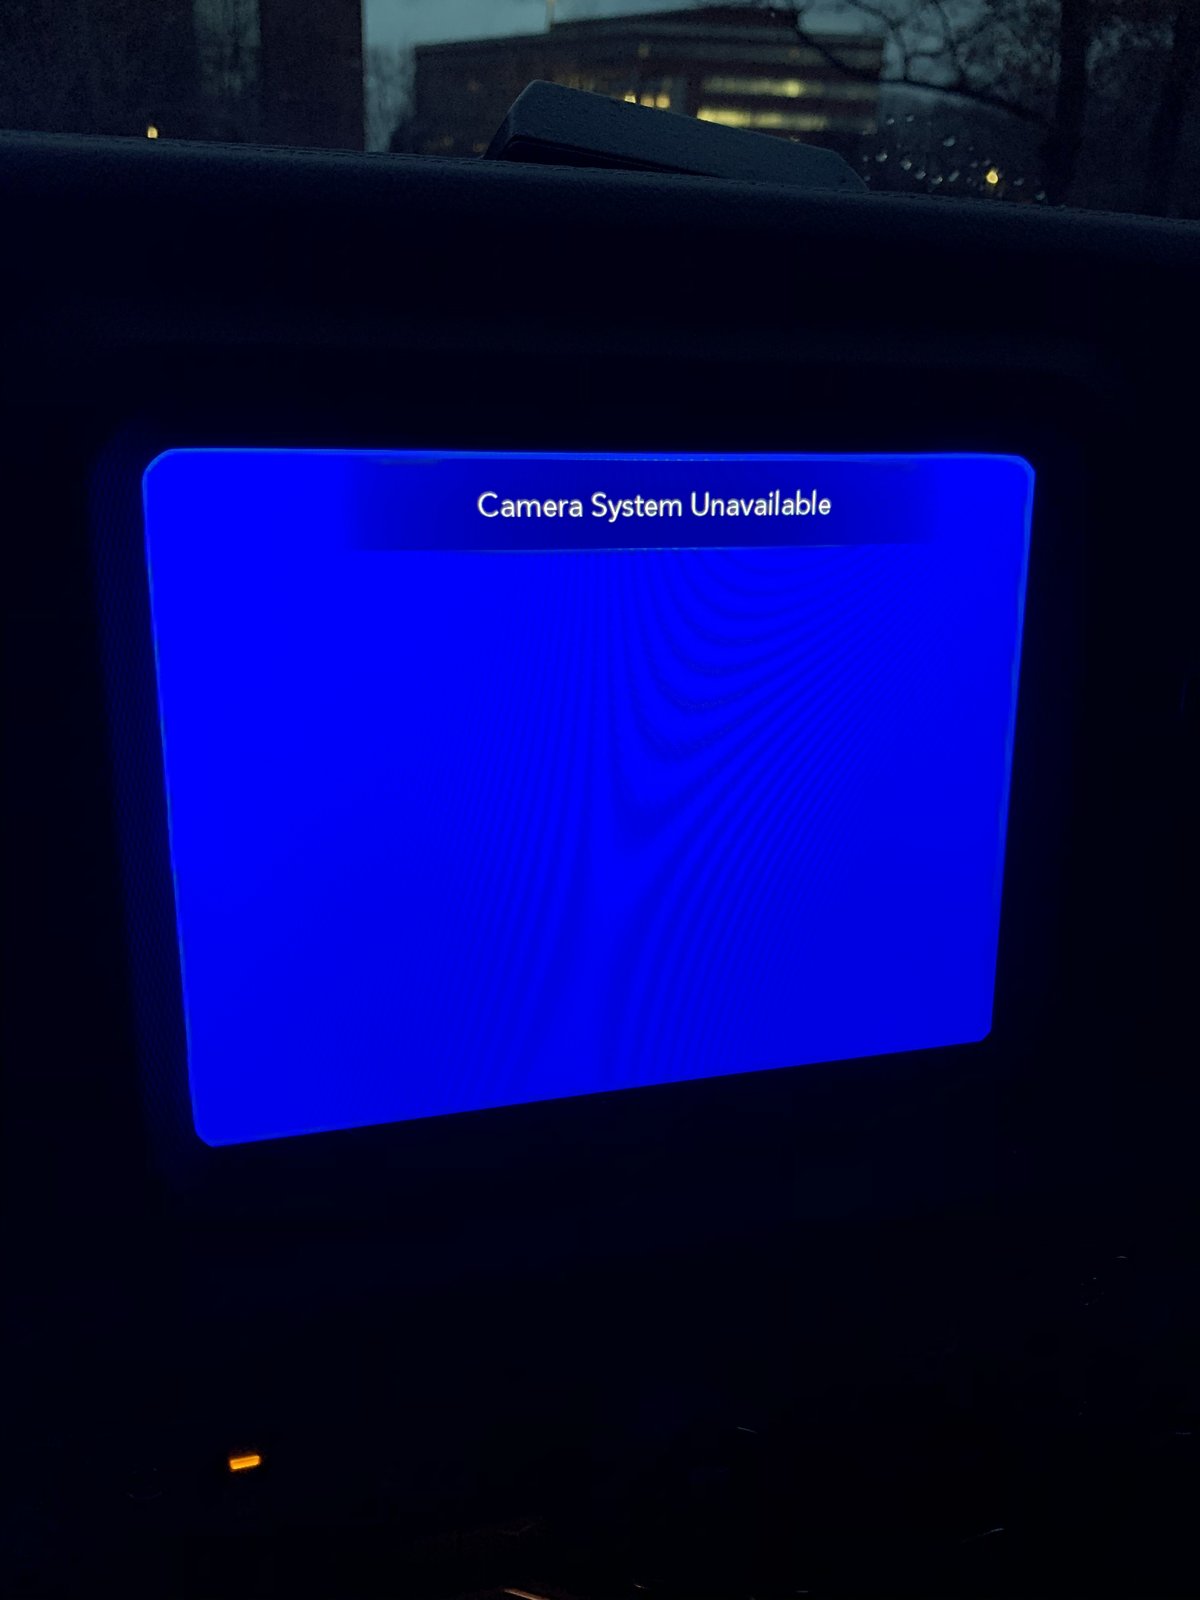
If you’re having trouble with your backup camera and seeing a blue screen, you’re not alone.
In this article, we’ll discuss how to fix blue screen on backup camera and provide some solutions to help you avoid common mistakes.
It can be frustrating and confusing when you’re faced with this problem repeatedly and don’t know what to do.
However, there are several ways to address the issue of a backup camera that says “no signal.”
Also Read: What Is The Quadrajet Idle Mixture Screw Setting? – Guide
How can I fix blue screen on backup camera from relevant reasons?
It’s important to identify the causes of blue screen backup camera early to save time and money. We recommend simple solutions that everyone can adopt instead of expensive ones. To troubleshoot the issue, you can start by checking the back of the stereo.
-
Loose or Faulty Connection
A prevalent cause of the blue screen camera issue is a faulty connection.
The connection between the command unit and the camera is typically unstable, making it susceptible to weakening when subjected to external impacts.
Verify the strength of the connections for both signal and power cord wires in your car stereo.
If no faults are found, examine the individual camera wire for potential issues.
Inspect the hinge position and ensure the cables are securely soldered.
To address any loose connections promptly, enlist the services of professional engineers to re-solder the cables.
-
Blown Fuse Incidents
The malfunction of backup camera not working often traces back to a blown backup camera fuse.
Blown incidents in the system can occur at various fuse locations, but the backup camera fuse, in particular, poses more significant risks for your car.
To prevent a blown fuse situation, consider checking the fuse in the dashboard, located behind the screen, or near the AUX as part of your routine maintenance.
For accurate guidance on dealing with a blown fuse, seek support from highly-rated, verified experts who can provide consulting information before attempting a DIY fix. This proactive approach helps minimize failure modes and enhances safety, whether you’re inspecting at home or in your car’s compact parking space.
Upon identifying the faulty fuse, measure the voltage and replace it with a new one. Keep in mind that the backup camera requires a 3 AMP electrical intensity, so choose a fuse from the corresponding product line for optimal performance and longevity.
-
Wire Damage Issues in Backup Cameras
A primary cause of the blue display on the backup camera is a malfunctioning backup camera harness wire.
This faulty wire exerts stress on the system by connecting the cable and port, leading to connection failures in your car.
Incorrect wires within the electronic network can hinder the effective transmission of audio or video signals.
Ensure to inspect the power cord for any signs of breakage that may disrupt the electricity transmission process.
Upon identifying any errors, conduct thorough testing and promptly rectify them.
It’s crucial to be mindful of potential hazards, such as pets, rodents, or children chewing on camera wires, as this can lead to unexpected incidents.
To safeguard your health and ensure family safety, immediate action in fixing or replacing damaged wires and cables is imperative.
-
Incorrect Input Selection
Every car model may have specific input requirements for its head unit.
To prevent a blue screen on your backup camera caused by incorrect input, make sure your car is equipped with a pre-installed head unit from a compatible product line.
Common input options include USBs, GPS, DVDs, cameras, and rear views.
If you’re unsure which unit matches your car’s head, seek assistance through online forums or consult with qualified experts.
While driving, use the head unit’s buttons or remote control to navigate and switch between different inputs.
Choose the most suitable input based on your car’s system without overthinking its design details. Keep it simple for a hassle-free experience.
Important: What Are The Causes & Symptoms Of P2647 Honda Pilot 2006?
-
Faulty or Snapped Cables
If clips fail to secure cables at the correct height, car malfunctions, especially those leading to blue screen errors, may become more frequent.
Consider using duct tape as an alternative to traditional clips to minimize the occurrence of strains within the vehicle.
Conversely, excessively tight cable arrangements can also lead to errors in the backup camera’s display capabilities.
Addressing this issue necessitates sufficient knowledge and experience.
-
Malfunctioning Head Unit
A defective resistor within the head unit or car stereo can disrupt the smooth transmission of images during playback, resulting in errors in image quality.
Extreme temperatures, whether too cold or too hot, can significantly impact the performance of this system. Opting to replace the car stereo is a costly adjustment for most drivers.
It is advisable to reach out to the car manufacturer or dealer for the replacement of a new unit or to seek valuable suggestions for repairs.
For those looking to save money, exploring third-party products is a viable option.
-
Issues Arising from Retrofitting a Camera
Opting for an additional camera, distinct from the existing camera system, can lead to mistakes in the retrofitting process.
Installing or fitting a new product involves reconnecting and cutting cables, making it a challenging task for most individuals to undertake independently.
Seeking assistance from seasoned drivers or experts is a wise choice, providing a secure solution for everyone to follow.
The resolution of this problem typically involves the use of a reliable multimeter adhering to specific standards.
-
Minor Errors in the Overall System
Issues with the backup camera may stem from various mistakes arising from both external and internal factors.
It is essential to address specific errors within the general system, such as incorrect engine settings, improper connection ports, or malfunctioning power cables, to comprehensively rectify these issues.
What is the cost of installing a new backup camera in a car?

The cost of installing a new backup camera varies depending on the car model. If the vehicle already has a screen, the installation of a camera typically ranges from $150 to $400, with additional labor costs falling between $400 and $600.
In the absence of a screen, you can expect to pay $500 to $1500 for a new head unit and an additional $150 to $200 for the camera.
Selecting reputable stores or dealers for the installation ensures that you invest wisely, avoiding frequent checks or replacements of the camera system and saving both time and money.
What vehicles are being recalled due to a blue screen problem with their reverse cameras?
The issue of a blue screen on a backup camera is a common problem that many drivers face.
Recently, some vehicles have been recalled due to this issue.
For example, Ford and Lincoln have recalled nearly 170,000 SUVs and vans because their backup cameras might not display a rear view image when the vehicle is in Reverse.
The affected vehicles include the 2020 to 2023 Lincoln Aviator SUV, 2018 to 2021 Lincoln Navigator SUV, 2022 and 2023 Ford Transit van, and 2021 Ford Bronco SUV.
Additional Common Problems with Backup Cameras
Backup cameras often encounter common issues, including a black display, error messages, and a foggy lens.
It is advisable for individuals to opt for services offered by the car brand to save costs and receive support with qualified replacements when facing these problems.
Addressing these issues can begin with a comprehensive reset of the various components of the camera system. This includes resetting camera settings, the hard engine, the soft system, and the connections of wires and cameras.
How do I reset my backup camera?

Resetting a backup camera can vary depending on the make and model of your vehicle. Here is a general guide that you can follow; however, it’s important to consult your vehicle’s manual for specific instructions tailored to your car:
-
Check the Manual
Refer to your car’s owner’s manual for instructions on how to reset the backup camera. Look for a section that covers the infotainment system or electronic components of the vehicle.
-
Use the Infotainment System
If your car has an infotainment system with a touchscreen, navigate to the settings menu. Look for options related to the camera system or vehicle settings. There may be a reset or restore option.
-
Locate the Camera Fuse
Check your vehicle’s fuse box for the fuse related to the backup camera. If you find the appropriate fuse, you can try removing it for a few minutes and then reinserting it. This can act as a simple reset for the camera system.
-
Disconnect the Car Battery
For a more thorough reset, you can disconnect the car battery. Ensure that you have the security code for your car stereo if needed. Disconnect the negative terminal of the battery, wait for about 15 minutes, and then reconnect it.
-
Consult the Dealership or Manufacturer
If you are unsure or if the issue persists, it’s advisable to contact your car dealership or the manufacturer. They may provide specific guidance or recommend bringing the vehicle in for professional assistance.
Why is my backup camera not working properly?
Several factors could contribute to a backup camera not working properly. Common issues include a faulty connection in the wiring, a malfunctioning camera lens, or issues with the power supply.
Additionally, adverse weather conditions, such as heavy rain or extreme temperatures, might impact the camera’s performance. System glitches or software malfunctions within the vehicle’s infotainment system can also lead to backup camera problems.
It’s recommended to check the wiring for any visible damage, ensure the camera lens is clean and unobstructed, and consult the vehicle’s manual for troubleshooting steps. If the problem persists, seeking assistance from a professional or the vehicle manufacturer may be necessary to diagnose and address the specific issue.
How do I clear my back camera?
To clear your backup camera, follow these general steps:
-
Clean the Camera Lens
Start by inspecting the camera lens for any dirt, smudges, or debris. Use a soft microfiber cloth to gently wipe the lens, ensuring it is clean and free from obstructions.
-
Check for Condensation
If there is condensation inside the camera housing, it can affect the image quality. If the weather is humid or if your car has been exposed to moisture, wait for the camera to dry or use a gentle stream of air to remove any condensation.
-
Inspect Wiring and Connections
Examine the wiring and connections associated with the backup camera. Ensure there are no loose connections, frayed wires, or visible damage. If you find any issues, consider repairing or replacing the affected parts.
-
Reset the Camera System
Refer to your vehicle’s manual to locate the option for resetting the camera system. This may involve accessing the settings in the infotainment system and selecting a reset or reboot option.
-
Verify Power Supply
Check the power supply to the camera to ensure it is functioning correctly. If the camera is not receiving power, it may not operate as intended. Inspect fuses related to the camera in the vehicle’s fuse box.
-
Consult the Manual
If the issue persists, consult your car’s owner’s manual for specific troubleshooting steps or contact the vehicle manufacturer’s customer support for guidance.
-
Professional Assistance
If you are unable to resolve the issue on your own, seeking assistance from a professional mechanic or the dealership may be necessary for a thorough diagnosis and repair.
Is there a fuse for backup camera?
Yes, many vehicles are equipped with a fuse dedicated to the backup camera. The purpose of this fuse is to protect the electrical components of the camera system. If the backup camera is not working, it’s a good idea to check the fuse associated with it. Here are the general steps to locate and inspect the backup camera fuse:
-
Consult the Owner’s Manual
Refer to your vehicle’s owner’s manual to find information about the location of the fuse box and the specific fuse related to the backup camera. The manual will provide details on the fuse box’s location and a diagram indicating the purpose of each fuse.
-
Locate the Fuse Box
In most vehicles, the fuse box is located either in the interior of the car or under the hood. Common locations include the dashboard, near the driver’s side, or in the engine compartment.
-
Identify the Backup Camera Fuse
Use the fuse diagram in the owner’s manual to identify the fuse associated with the backup camera. The diagram may also be printed on the fuse box cover.
-
Inspect the Fuse
Once you locate the backup camera fuse, visually inspect it to check for any signs of damage, such as a broken filament or discoloration. If the fuse appears faulty, replace it with a fuse of the same amperage.
-
Test the Backup Camera
After replacing the fuse, test the backup camera to see if the issue is resolved. If the problem persists, there may be other underlying issues, and it may be advisable to seek professional assistance.
What activates backup camera?
The backup camera in a vehicle is typically activated when the driver shifts the transmission into reverse. This action triggers a signal to the camera system, prompting it to turn on and display the live feed from the rear of the vehicle on the infotainment screen or rearview mirror.
The activation is designed to assist drivers in maneuvering and parking by providing a clear view of obstacles, pedestrians, or other vehicles behind them. As part of modern vehicle safety features, the backup camera enhances visibility, particularly in situations where traditional mirrors may have limitations.
While shifting into reverse is the primary trigger, some vehicles may also allow manual activation of the backup camera through the infotainment system, providing flexibility in usage.
Important: Will Disconnecting Battery Reset Fuel Gauge? Detailed Answer
FAQs – How To Fix Blue Screen On Backup Camera
Is it possible for drivers to install reverse cameras in any car?
The answer is affirmative—yes, it can be done. However, errors may arise if you select incompatible reverse camera models for your vehicle or lack the knowledge to install them correctly. Such mistakes can occasionally result in issues like a blue screen on the cameras. Consequently, understanding how to rectify a blue screen on a backup camera empowers you to troubleshoot incidents effectively, ensuring functionality anytime and anywhere.
Why does the car display a black screen?
The issue of a black screen shares similar causes with the blue screen problem in the backup camera system. Potential culprits include a malfunctioning head unit, damaged cables, incorrect input selection, and compromised wires. However, pinpointing the primary factor responsible for the black screen promptly addresses the problem at its core.
Can you factory reset a camera?
Performing a factory reset on a camera depends on its specific make and model. To reset, consult the camera’s user manual for instructions, typically found in the settings menu under options like “Reset,” “Restore,” or “Factory Reset.”
Some cameras may have a physical reset button that needs to be pressed and held. If the camera is battery-powered, removing the batteries for a few minutes can act as a soft reset.
For further guidance or if the information is not readily available, contacting the camera’s manufacturer support is recommended. It’s important to note that a factory reset will erase all customized settings, returning the camera to its original, default configuration.
Conclusion – How To Fix Blue Screen On Backup Camera
Understanding how to fix the blue screen on a backup camera is crucial for effectively managing unexpected incidents.
While there may not be a universal solution for all issues related to the camera system, gaining detailed instructions on addressing the specific problem of a blue screen ensures that you can approach and resolve such situations with flexibility.
This knowledge contributes to a more optimal car-using experience, allowing you to navigate and troubleshoot challenges related to the backup camera effectively.