Engine oil is the lifeblood of your vehicle’s engine, playing a vital role in maintaining its health and ensuring smooth operation. Without proper lubrication, the engine’s components would grind against each other, leading to overheating, excessive wear and tear, and, ultimately, engine failure. Regular oil changes and maintenance are crucial to keep your engine running in optimal condition.
One component that contributes to the effectiveness of your engine oil is the engine oil cooler. This often-overlooked part plays a significant role in regulating the temperature of the engine oil, ensuring it remains within the ideal operating range. However, like any other mechanical component, engine oil coolers can encounter issues like leaks, which can compromise their functionality and jeopardize the engine’s well-being.
In this guide, we’ll delve into the world of engine oil cooling, addressing a question that’s frequently asked by vehicle owners: “How long should you let your engine oil cool before adding oil?” We will explore the importance of the engine oil cooler, the signs of potential problems, and provide valuable insights into the best practices for maintaining your engine’s oil system. So, let’s dive in and uncover the secrets to keeping your engine’s oil at its best!
Understanding the Engine Oil Cooler

So, what exactly is this mysterious component known as the engine oil cooler, and why should you care about it? Well, buckle up because we’re about to demystify it for you.
What is an Engine Oil Cooler?
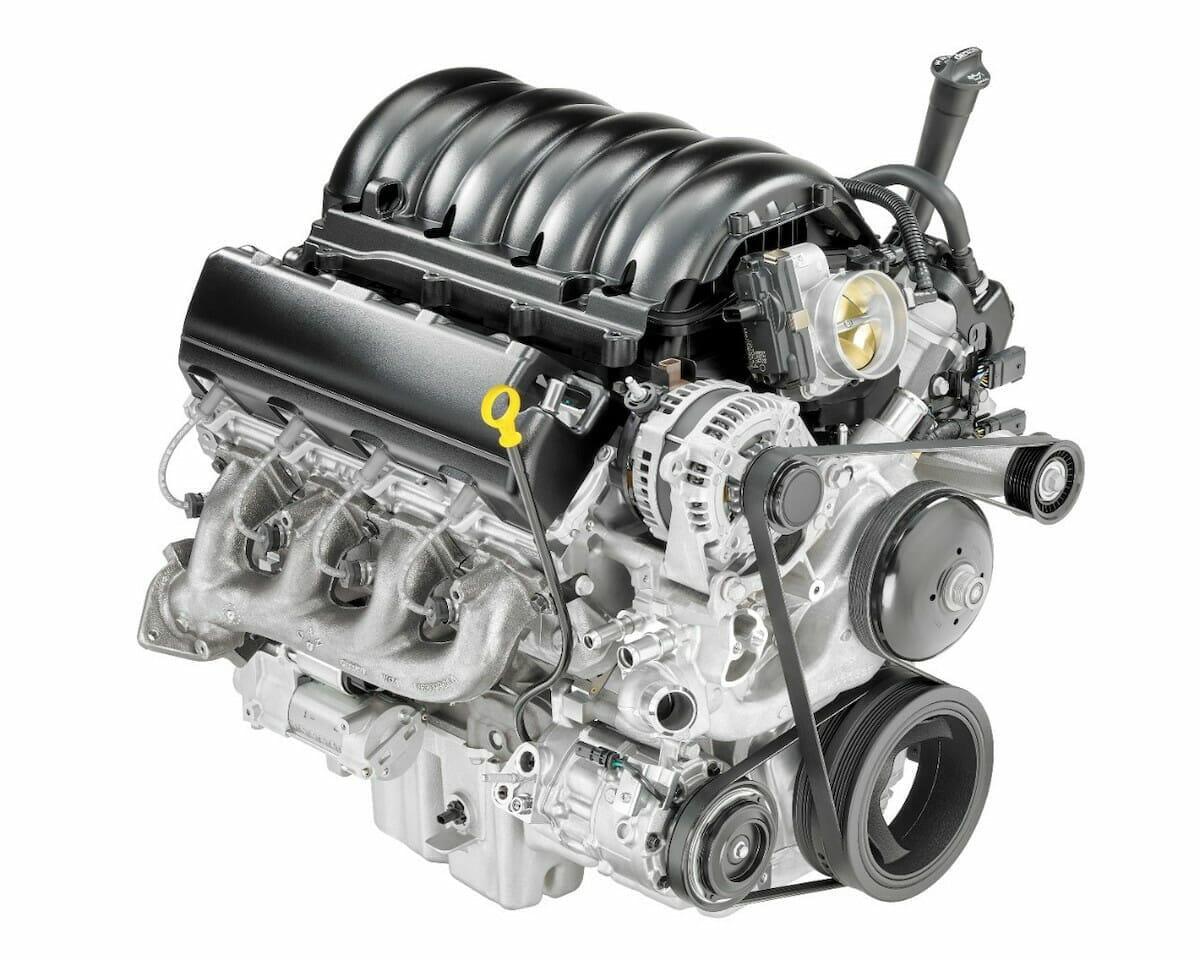
An engine oil cooler is like a superhero cape for your vehicle’s engine oil. It’s a dedicated component that helps regulate the temperature of your engine oil to ensure it performs at its best. You see, engine oil isn’t just there to keep things slick; it’s also tasked with dissipating heat generated by your engine’s constant churning. Think of it as your engine’s personal temperature control system.
The Role it Plays in Your Engine
Picture your engine as a bustling metropolis. As it operates, the various parts generate heat – lots of it. This heat can cause your engine oil to reach scorching temperatures, and that’s where the engine oil cooler steps in. It’s like the cool cat in town who knows how to handle hot situations.
The engine oil cooler works by passing engine oil through a series of small tubes or fins, similar to a radiator, where it exchanges heat with the outside air or, in some cases, with coolant. This process brings down the temperature of the oil, preventing it from getting too thin or too thick. This Goldilocks zone of oil viscosity ensures that your engine stays well-lubricated, minimizing friction, and reducing wear and tear on vital components.
The Dreaded Engine Oil Cooler Leak
Now, let’s talk about the elephant in the room – the engine oil cooler leak. It’s the villain in this oil-cooling saga. A leak in the engine oil cooler can lead to a host of problems. Imagine a slow, persistent drip of engine oil seeping into places it shouldn’t be. It can contaminate other engine components, damage gaskets and seals, and potentially cause a catastrophic drop in oil pressure. Without proper lubrication, your engine’s parts will start to wear out faster than a kid’s sneakers on a playground.
Consequences of an Engine Oil Cooler Leak
The consequences of an engine oil cooler leak aren’t pretty. You could face reduced engine performance, decreased fuel efficiency, and in the worst-case scenario, engine damage that could leave your bank account in tears. That’s why keeping an eye out for signs of a leak is essential to the health of your engine.
Importance of Optimal Oil Temperature
Now that we’ve sung the praises of the engine oil cooler and highlighted the perils of a leak, let’s talk about why maintaining an optimal oil temperature matters. Just like humans don’t perform well when they’re too hot or too cold, your engine oil needs the Goldilocks treatment too – not too hot, not too cold, but just right.
Oil that’s too hot can lead to oxidation, thickening, and eventually, sludge formation. On the flip side, oil that’s too cool won’t flow efficiently, leading to poor lubrication. Striking the right balance in temperature ensures that your engine oil can do its job effectively, extending the life of your engine and keeping it humming along smoothly.
Now that you’re well-versed in the engine oil cooler’s role, the dangers of leaks, and the importance of maintaining the perfect oil temperature, it’s time to dive deeper into the world of engine oil cooling. Stay with us as we explore the different types of engine oil coolers in the next section.
Types of Engine Oil Coolers

Now that we’ve uncovered the engine oil cooler’s crucial role and the potential pitfalls of leaks, let’s take a closer look at the two main types of engine oil coolers: air-cooled and liquid-cooled. These coolers may not have capes, but they sure have their own superpowers when it comes to keeping your engine oil in check.
Air-Cooled Engine Oil Coolers
What Are They?
Imagine you’re standing outside on a hot summer day, and a gentle breeze cools you down. Air-cooled engine oil coolers work in a somewhat similar way. They rely on the ambient air passing over fins or tubes to dissipate heat from the engine oil.
How They Work
In the air-cooled camp, engine oil flows through these fins or tubes, and as the air flows over them, it carries away the heat generated by the oil. Think of it as nature’s way of cooling things down.
Pros
- Simplicity: Air-cooled engine oil coolers are relatively straightforward in design, making them easier and less expensive to manufacture and install.
- No Additional Fluid: Since they don’t require coolant, there’s no risk of coolant leaks contaminating your engine oil.
- Lower Maintenance: These coolers typically need less maintenance compared to their liquid-cooled counterparts.
Cons
- Limited Cooling Capacity: They may struggle to cool engine oil efficiently in extremely hot conditions or during heavy loads.
- Less Effective at High Temperatures: In situations where your engine oil temperature soars, air cooling may not be enough to maintain the ideal oil temperature.
Liquid-Cooled Engine Oil Coolers
What Are They?
Liquid-cooled engine oil coolers, on the other hand, operate more like a high-tech cooling system. They use a separate coolant circuit to regulate the temperature of the engine oil.
How They Work
In this setup, a coolant (usually a mix of water and antifreeze) circulates through a separate cooler, which is in direct contact with the engine oil. The coolant absorbs the heat from the oil and is then cooled through a radiator-like system using air or, in some cases, a dedicated cooler.
Pros
- Precise Temperature Control: Liquid cooling allows for precise control over the engine oil temperature, ensuring it stays within the optimal range.
- Effective in Extreme Conditions: Liquid-cooled coolers excel in maintaining proper oil temperature even under heavy loads and high-temperature conditions.
- Improved Efficiency: Better temperature control can enhance engine efficiency and reduce wear and tear.
Cons
- Complexity: Liquid-cooled systems are more complex and can be pricier to manufacture, install, and maintain.
- Potential for Leaks: Since they involve coolant, there’s a risk of coolant leaks into the engine oil if not properly maintained.
Now that you know the scoop on both air-cooled and liquid-cooled engine oil coolers, you can better appreciate their unique strengths and weaknesses. But remember, the right choice for your vehicle depends on your driving conditions and the specific needs of your engine. In the next section, we’ll discuss the signs that could indicate your engine oil cooler is in trouble, helping you stay ahead of potential issues.
Also Read: How to Customize Ambient Lighting Color in Your Jeep Grand Cherokee
Signs of an Engine Oil Cooler Leak

Now that we’ve explored the world of engine oil cooler types, let’s talk about something equally important – spotting the telltale signs of an engine oil cooler leak. Ignoring these signs can lead to significant headaches down the road, so stay vigilant.
Common Signs of an Engine Oil Cooler Leak
- Oil Puddles Under Your Vehicle
One of the most apparent signs of an engine oil cooler leak is the presence of oil puddles beneath your parked vehicle. If you notice dark, slick spots forming under your car or in your driveway, it’s time to investigate.
- Sudden Drop in Oil Level
Keep an eye on your vehicle’s oil level using the dipstick. If you notice a rapid and unexplained drop in oil level between oil changes, it could be due to an engine oil cooler leak.
- Oil in the Coolant or Vice Versa
Engine oil and coolant should never mix. If you see oil floating on the surface of your coolant reservoir or notice milky, frothy oil on your dipstick, it’s a sign that these fluids are cross-contaminating, likely through an oil cooler leak.
- Overheating Engine
A failing engine oil cooler can lead to inefficient cooling of the oil, causing it to overheat. This, in turn, can lead to your engine running hotter than it should. If your temperature gauge starts creeping into the red zone, it’s time for a closer look.
- Visible Oil on Engine Components
Inspect the engine for any signs of oil splatters or leaks. Oil-coated engine parts or a greasy residue near the cooler itself can indicate a leak.
Why It’s Crucial to Detect and Address These Issues Promptly
Detecting and addressing engine oil cooler leaks promptly is not just a matter of preventing a minor inconvenience; it can save you from a cascade of serious problems. Here’s why it’s absolutely crucial:
- Engine Protection
Engine oil is essential for lubricating the moving parts inside your engine. When an oil cooler leaks, it can lead to a drop in oil pressure, which can starve your engine of the vital lubrication it needs. This can result in premature wear, damage to engine components, and potentially catastrophic engine failure.
- Avoiding Costly Repairs
Repairing or replacing an engine damaged due to oil cooler leaks can be incredibly costly. Detecting and addressing the issue early can help you avoid these hefty repair bills.
- Preventing Engine Overheating
An overheated engine is never a good thing. It can lead to warped engine components, blown gaskets, and even engine fires. Properly functioning engine oil coolers play a crucial role in maintaining the engine’s temperature, preventing overheating.
- Optimizing Engine Performance
When your engine operates with the right amount and temperature of oil, it performs optimally. Any deviation from this can lead to reduced fuel efficiency and decreased engine performance.
In essence, spotting the signs of an engine oil cooler leak early on is like catching a small leak in a boat before it becomes a gaping hole. It’s a proactive measure that not only protects your engine but also your wallet. So, if you ever suspect an oil cooler leak, don’t procrastinate – get it checked out by a qualified mechanic pronto.
In the next section, we’ll delve into the process of replacing a faulty engine oil cooler, shedding light on when and why you might need to take this step.
Engine Oil Cooler Replacement

So, you’ve identified the signs of an engine oil cooler leak, and it’s clear that your trusty cooler is on the fritz. What now? In this section, we’ll dive into the nitty-gritty of engine oil cooler replacement, covering everything from the process itself to when it’s absolutely necessary, and the importance of professional assistance.
Process of Replacing a Damaged Engine Oil Cooler
Replacing an engine oil cooler isn’t a quick DIY fix, but it can be done. Here’s a simplified breakdown of the process:
- Preparation: Start by draining the engine oil and coolant from your vehicle to prevent any spills or contamination during the replacement.
- Access the Cooler: Depending on your vehicle’s make and model, accessing the engine oil cooler might require removing other components like the bumper, grille, or even parts of the engine.
- Disconnect Lines: Disconnect the oil lines and coolant lines connected to the cooler. This often involves removing fittings or hoses, so be prepared to have replacement components on hand.
- Remove the Old Cooler: Unbolt the old cooler from its mounting location. This can be a bit tricky as the cooler is usually nestled in a tight spot within the engine bay.
- Install the New Cooler: Carefully install the new engine oil cooler in the same location, securing it with the appropriate bolts or brackets.
- Reconnect Lines: Reattach the oil lines and coolant lines, ensuring they are properly tightened and secured.
- Refill Fluids: Refill the engine with fresh engine oil and coolant. It’s essential to use the correct types and quantities for your vehicle.
- Test for Leaks: Start your engine and closely monitor for any signs of leaks from the new cooler or the connections you’ve made. Make sure the engine oil and coolant levels remain stable.
- Reassemble: Reassemble any components you removed to access the cooler, such as the bumper or grille.
When Is It Necessary to Replace the Cooler?
While not all engine oil cooler issues necessitate replacement, several situations call for it:
- Severe Leak: If the cooler is leaking excessively or the damage is beyond repair, replacement is the only viable option.
- Internal Clogs: If the cooler has become clogged with debris or sludge to the point where it can’t effectively cool the oil, it should be replaced.
- Excessive Corrosion: Over time, some coolers may succumb to corrosion, compromising their structural integrity and efficiency. Replacement becomes necessary in such cases.
Cost and Importance of Professional Assistance
The cost of replacing an engine oil cooler can vary significantly depending on your vehicle’s make and model, the type of cooler, and whether you choose to go with an aftermarket or OEM (Original Equipment Manufacturer) part. On average, you can expect to spend anywhere from $200 to $500 for the parts alone. Labor costs can also add to the total, and they can vary based on your location and the complexity of the job.
While it’s possible to replace an engine oil cooler as a DIY project, it’s a task that’s often best left to professionals. Here’s why:
- Complexity
The process of accessing and replacing the cooler can be complex and may require specialized tools and equipment.
- Expertise
Mechanics have the expertise and experience to diagnose issues accurately and ensure a proper replacement, minimizing the risk of mistakes or oversights.
- Warranty
Professional repairs often come with warranties, offering you peace of mind knowing that if anything goes wrong, you have recourse.
- Safety
Working on your vehicle’s cooling system and engine oil system can be messy and potentially hazardous. Professionals have the necessary safety precautions in place.
Engine oil cooler replacement is a task best undertaken with care and precision. It’s crucial to recognize when replacement is necessary and, when in doubt, seek professional assistance to ensure your engine’s health and longevity. Don’t shy away from the potential cost, as it’s an investment in the reliability and performance of your vehicle.
In our next section, we’ll tackle a frequently asked question: “How long should you let your engine oil cool before adding oil?“
How Long to Let Engine Cool Before Checking Oil?
You’ve probably heard the advice to let your engine cool before checking the oil, but have you ever wondered how long you should wait, or why it’s so important? In this section, we’ll provide you with clear answers to these questions and offer guidelines based on various circumstances and engine types.
How Long to Wait Before Checking Your Engine Oil
The general rule of thumb is to allow your engine to cool for at least 5 to 10 minutes before checking the oil level. This time frame provides enough cooling to get a reasonably accurate reading, and it’s a standard recommendation for most vehicles.
Reasons for Allowing Your Engine to Cool
- Accurate Reading
Engine oil tends to circulate throughout the engine when it’s running, and some of it remains in various passages. Allowing the engine to cool ensures that the oil has settled back into the oil pan, where you can get a more accurate reading.
- Safety
Engines get extremely hot during operation, and opening the hood immediately after turning off the engine can expose you to scalding hot components, steam, and other hazards. Allowing it to cool down reduces the risk of burns and accidents.
- Preventing Overfilling
Checking your oil when the engine is hot can lead to overfilling. When oil is hot, it expands, and you might mistakenly add too much if you check it immediately after turning off the engine.
Guidelines Based on Different Circumstances and Engine Types
- Normal Daily Driving
For most everyday driving situations, waiting 5 to 10 minutes after turning off the engine should suffice. This allows the engine to cool down adequately for an accurate oil level reading.
- High-Performance Engines
If you drive a high-performance vehicle or one that’s known to run hot, you may want to wait a bit longer, around 15 to 20 minutes, to ensure the engine has cooled sufficiently.
- Extreme Conditions
If you’ve been driving in extreme conditions, such as stop-and-go traffic on a scorching hot day or towing a heavy load, it’s a good idea to wait longer, up to 20-30 minutes, to let the engine cool down. Extreme conditions can cause the engine to run hotter than usual.
- Diesel Engines
Diesel engines often run hotter than gasoline engines. Waiting at least 15 minutes after turning off a diesel engine is advisable to get an accurate oil level reading.
- Turbocharged Engines
Turbocharged engines generate additional heat due to the turbocharger. Waiting 10-15 minutes after turning off the engine is recommended to allow the turbocharger to cool down and provide an accurate oil level reading.
Best Practices for Adding Engine Oil
Now that you know how long to let your engine cool before checking the oil, let’s dive into the best practices for adding engine oil once it’s cooled down. Additionally, we’ll emphasize the importance of using the correct oil grade and quantity and provide tips for maintaining your engine’s health through regular oil checks and changes.
Proper Way to Add Engine Oil
- Safety First: Always ensure your vehicle is parked on a level surface and the engine is turned off. Engage the parking brake and wait for the engine to cool, following the recommended wait time mentioned in the previous section.
- Locate the Oil Cap: Pop the hood and locate the oil cap. It’s usually marked with a picture of an oil can or the word “oil.”
- Check the Oil Level: Using the dipstick, check the current oil level in the engine. Wipe the dipstick clean, reinsert it, and then withdraw it again to get an accurate reading.
- Select the Right Oil: Refer to your vehicle’s owner’s manual to determine the correct oil grade and viscosity for your engine. Using the wrong oil can lead to reduced engine performance and increased wear.
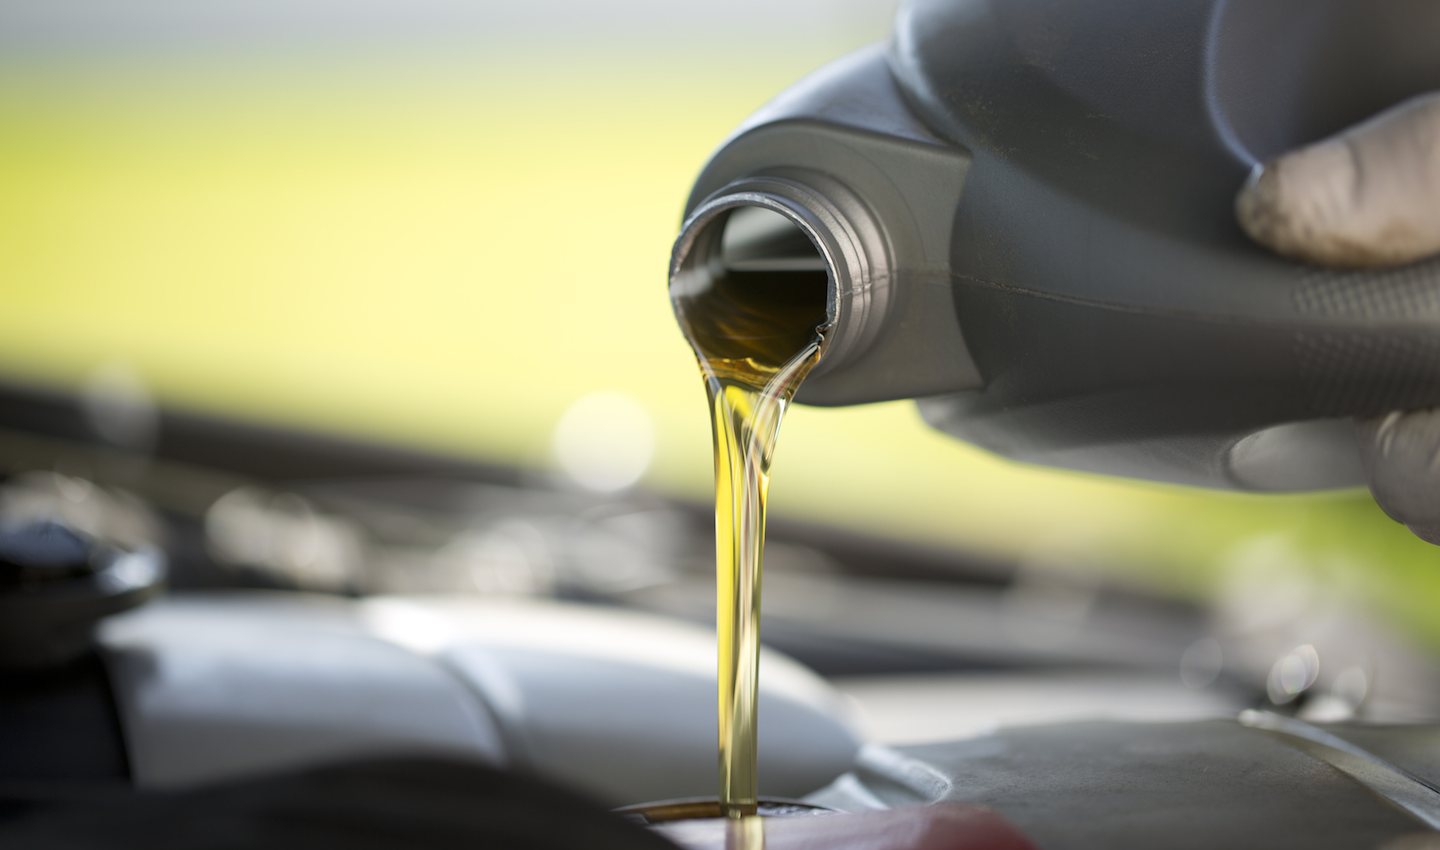
- Add Oil Gradually: Use a funnel to pour the oil into the engine through the oil filler hole. Pour it in gradually, checking the dipstick periodically to avoid overfilling.
- Check the Level Again: After adding the oil, wait a few minutes for it to settle, and then recheck the oil level with the dipstick. Ensure it falls within the recommended range.
- Secure the Oil Cap: Replace the oil cap securely, making sure it’s properly tightened. A loose oil cap can lead to oil leaks and contamination.
- Dispose of Old Oil Properly: If you changed the oil in addition to topping it off, be sure to dispose of the used oil at a recycling center or an auto parts store that accepts used oil.
Using the Correct Oil Grade and Quantity
Using the correct oil grade and quantity is paramount for the health and performance of your engine:
- Oil Grade: Always use the oil grade recommended by the manufacturer. This information can usually be found in your vehicle’s owner’s manual. The wrong oil grade can lead to poor lubrication and engine damage.
- Oil Quantity: Be careful not to overfill or underfill the oil. Too much oil can lead to foaming and reduced lubrication, while too little oil can cause excessive wear. The correct oil level should be indicated on the dipstick.
Tips for Maintaining Your Engine’s Health
- Regular Oil Changes: Stick to a regular oil change schedule as your vehicle’s manufacturer recommends. This is one of the most critical aspects of engine maintenance.
- Keep an Eye on Oil Quality: Check the color and consistency of your engine oil regularly. Dark, dirty, or sludgy oil may indicate a need for an oil change.
- Replace the Oil Filter: Change the oil filter with every oil change to ensure efficient filtration and prevent contaminants from circulating in the engine.
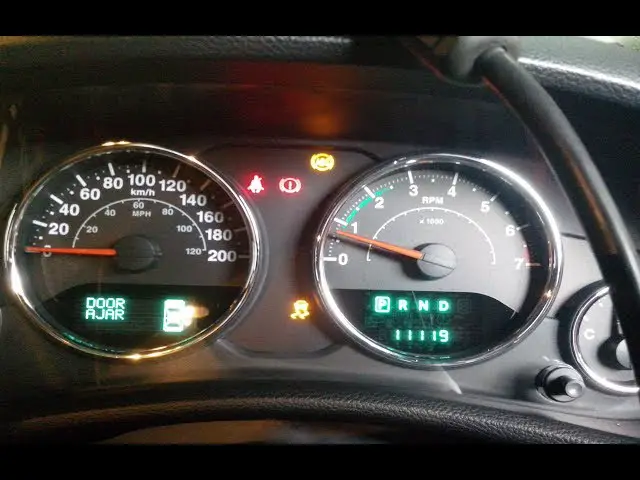
- Watch for Warning Signs: Pay attention to warning signs such as oil pressure warning lights or unusual engine noises. These may indicate oil-related issues that need immediate attention.
- Use Quality Oil: Invest in high-quality engine oil and filters. Quality products can contribute to better engine performance and longevity.
Conclusion
In this comprehensive guide, we’ve taken a deep dive into the world of engine oil, cooling, and maintenance. Let’s recap the key points we’ve discussed and reiterate the critical importance of proper engine oil maintenance:
Key Points Discussed
- Understanding the Engine Oil Cooler: We started by unraveling the mystery of engine oil coolers, their role in temperature regulation, and the potential pitfalls of an engine oil cooler leak.
- Types of Engine Oil Coolers: We explored two main types – air-cooled and liquid-cooled – highlighting their differences and pros and cons to help you understand their unique qualities.
- Signs of an Engine Oil Cooler Leak: We discussed the common signs that indicate an engine oil cooler leak and emphasized the importance of promptly detecting and addressing these issues to protect your engine.
- Engine Oil Cooler Replacement: We detailed the process of replacing a damaged engine oil cooler, explained when it’s necessary to replace it, and mentioned the potential cost and the significance of seeking professional assistance.
- How Long to Let Engine Cool Before Checking Oil?: We provided clear guidelines on how long to wait before checking your engine oil, explained the reasons behind this waiting period, and offered recommendations based on different circumstances and engine types.
- Best Practices for Adding Engine Oil: We discussed the proper way to add engine oil, highlighted the importance of using the correct oil grade and quantity, and provided tips for maintaining your engine’s health through regular oil checks and changes.
The Significance of Proper Engine Oil Maintenance
Proper engine oil maintenance isn’t just a suggestion; it’s a critical aspect of vehicle ownership. Regularly checking and changing your engine oil, ensuring it’s at the right level and of the correct grade, and promptly addressing any issues like leaks or cooler damage can make all the difference in your engine’s performance and longevity.
Follow the Recommended Guidelines for a Healthy Engine
To ensure a healthy engine that purrs like a contented cat, follow the recommended guidelines provided in this guide. Remember to let your engine cool before checking the oil, choose the right oil grade and quantity, and adhere to regular maintenance schedules. Your vehicle will thank you with years of reliable service and smoother rides.
Your engine is the heart of your vehicle, and proper engine oil maintenance is the key to keeping it beating strong. So, be vigilant, stay informed, and give your engine the love and care it deserves. Your journeys will be smoother, your wallet happier, and your engine healthier. Happy driving!
FAQs
Can I drive my car if the engine oil cooler is leaking?
It’s generally not advisable to drive your car if the engine oil cooler is leaking. An engine oil cooler leak can lead to a drop in oil pressure, which may result in insufficient lubrication of critical engine components. Continued driving with low oil pressure can cause severe engine damage. It’s best to have the issue addressed promptly and avoid driving the vehicle until it’s fixed.
How often should I check my engine oil?
Regular oil checks are essential for maintaining your engine’s health. The frequency of oil checks depends on several factors, including your vehicle’s age, make, and model, as well as your driving habits. As a general guideline, it’s a good practice to check your engine oil at least once a month, or before long trips. Older vehicles or those with higher mileage may benefit from more frequent checks, perhaps every two weeks. Always consult your vehicle’s owner’s manual for manufacturer-recommended intervals.
What should I do if I suspect an engine oil leak?
If you suspect an engine oil leak, it’s crucial to take action promptly. Start by inspecting the ground under your parked vehicle for oil puddles. Check the engine bay for visible signs of oil leakage, such as oil-coated components or greasy residue. If you find any of these signs, have the leak investigated by a qualified mechanic. Delaying repairs can lead to further damage and potentially costly repairs.
Can I use any engine oil brand for my vehicle?
A4: It’s best to stick to reputable engine oil brands and, most importantly, use the oil grade and viscosity recommended by your vehicle’s manufacturer. The correct oil grade ensures proper lubrication and engine performance. Consult your owner’s manual to determine your vehicle’s recommended oil specifications.
How can I maintain my engine’s oil cooler to prevent leaks?
A5: While some engine oil cooler issues can arise unexpectedly, you can take measures to help prevent leaks and maintain its health. Regularly inspect the cooler and surrounding components for signs of wear, damage, or corrosion. Additionally, ensure that your vehicle’s cooling system is functioning correctly to prevent overheating, which can stress the oil cooler. Regular oil changes using high-quality oil and filters can also contribute to the overall health of your engine and its cooling components.
Is it possible to overfill my engine with oil accidentally?
Yes, it’s possible to accidentally overfill your engine with oil, which can have negative consequences. Overfilling can cause excess oil to foam, leading to reduced lubrication and potential engine damage. Always follow the recommended oil quantity specified in your vehicle’s owner’s manual and add oil gradually, checking the dipstick frequently to avoid overfilling.