What is the Canister Purge Valve?
The canister purge valve is a crucial component in a vehicle’s evaporative emission control system. It plays a pivotal role in managing harmful fuel vapors, ensuring that they are safely routed and burned in the engine rather than being released into the atmosphere. This valve is designed to open and close as needed, allowing the captured vapors from the charcoal canister to flow into the engine and prevent emissions from escaping into the environment.
Importance of the Canister Purge Valve
The importance of the canister purge valve lies in its role in emissions control. It helps reduce harmful hydrocarbon emissions, making vehicles more environmentally friendly. In addition, it aids in maintaining proper fuel-to-air ratios in the engine, contributing to efficient combustion and improved fuel economy. Without a functioning canister purge valve, a vehicle may experience performance issues and increased emissions, which can lead to environmental harm and potentially regulatory trouble.
Overview of the Article
This article will provide a comprehensive guide on the canister purge valve, covering its location in various vehicle models, how to check if it’s functioning correctly, the steps for its replacement, and the costs associated with such replacements.
Furthermore, we’ll delve into a visual representation of the valve’s internal components, and share essential tips and resources for vehicle owners and enthusiasts looking to maintain their cars efficiently. Let’s get started with a closer look at where the canister purge valve is typically located in vehicles.
Also Read: Exploring 4.8 Vortec Engine Problems: Solutions & Tips
Where is the Canister Purge Valve Located?

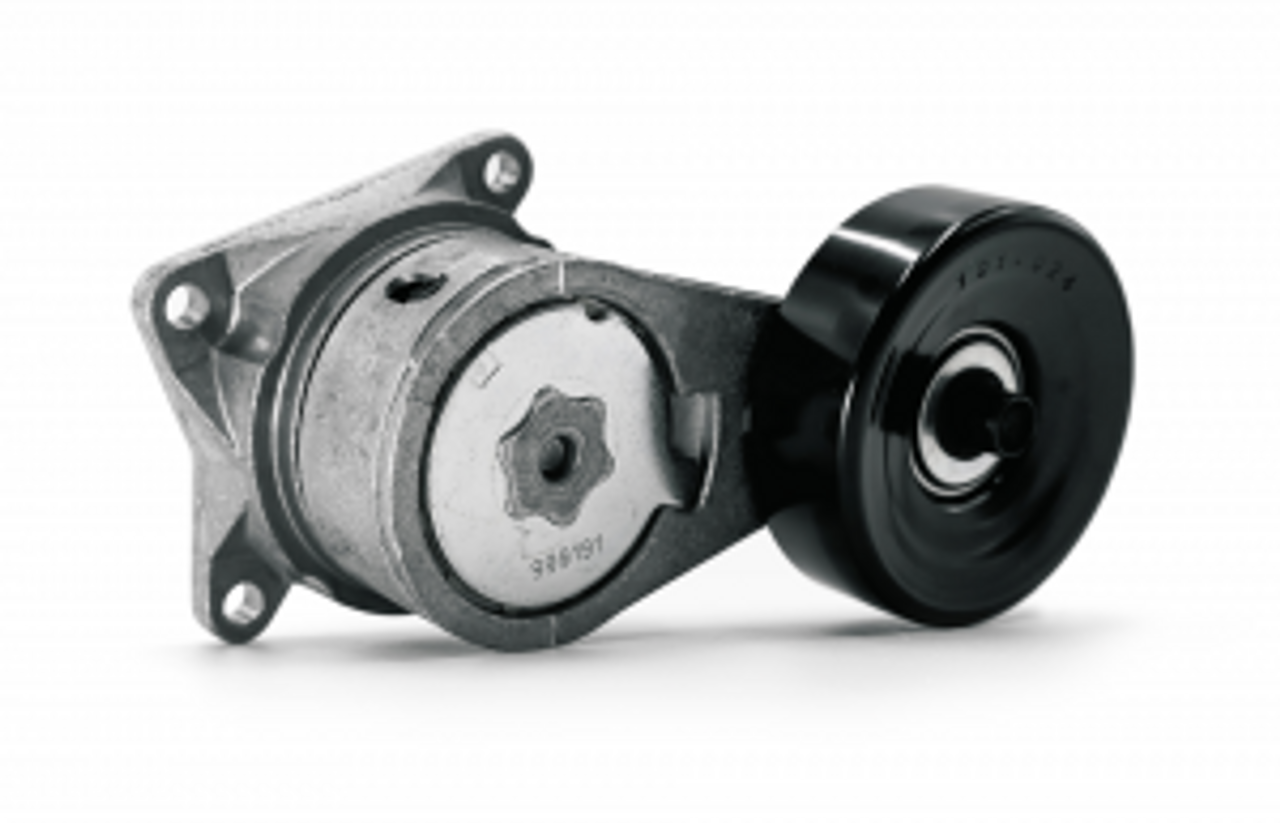
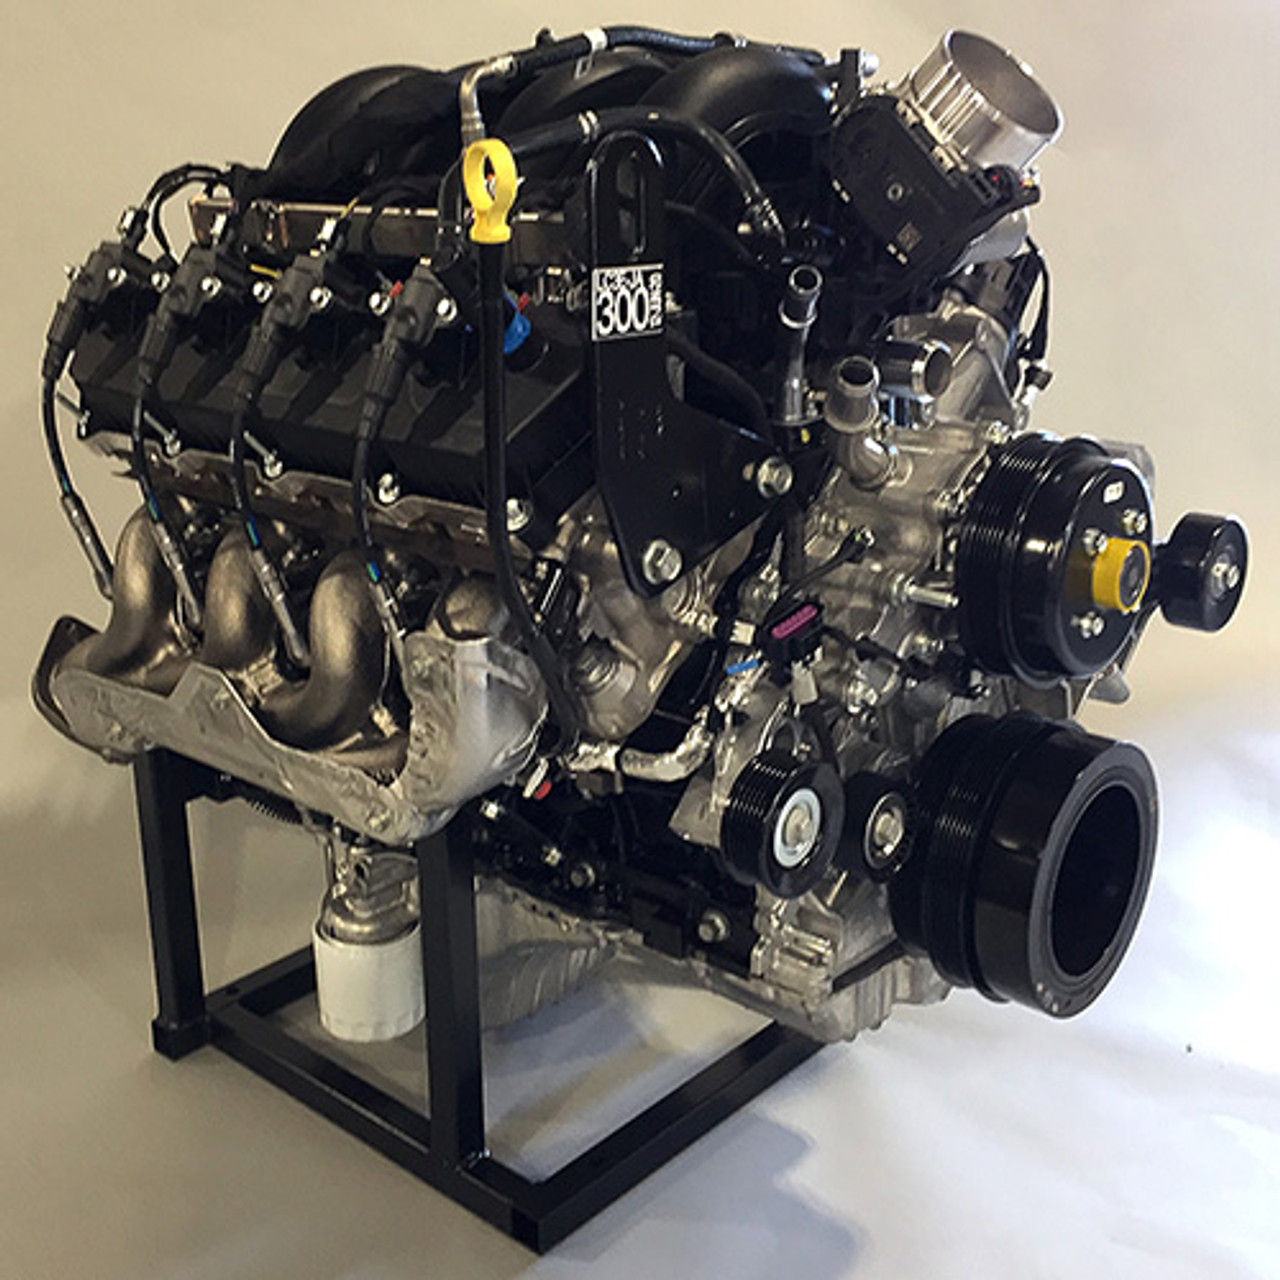
Engine Compartment Location
Typical Locations in Various Car Models
The exact location of the canister purge valve can vary among different car makes and models. However, it is most commonly found in the engine compartment. It is typically positioned along the evaporative emission control system’s network of hoses and pipes. Common locations include:
- Near the intake manifold
Many modern vehicles place the canister purge valve close to the intake manifold, making it easily accessible for maintenance.
- On or near the firewall
In some models, you may find the valve mounted on or near the firewall, which is the partition between the engine compartment and the passenger compartment.
- Near the airbox or air filter housing
In a few vehicles, the valve can be located in proximity to the airbox or air filter housing, often closer to the front of the engine.
Underneath the Vehicle Location
Variations Depending on the Car Make and Model
For some cars, especially larger vehicles or those with unique configurations, the canister purge valve may be located underneath the vehicle. The exact positioning can vary significantly between car makes and models, and it might even be concealed behind protective shields or covers. Variations in location may depend on the following factors:
- Vehicle size and design
Larger vehicles may have more complex layouts, leading to different placement options for the canister purge valve.
- Manufacturer preferences
Different automakers have unique design choices, and they may position the valve differently based on their preferred layout.
- Evaporative system design
The layout and design of the vehicle’s evaporative emission control system can influence where the canister purge valve is situated.
How to Check the Canister Purge Valve

Signs of a Faulty Canister Purge Valve
Common Symptoms
When the canister purge valve is not functioning properly, several common symptoms may manifest, including:
- Illuminated Check Engine Light: A faulty canister purge valve can trigger the check engine light on your dashboard.
- Rough Idling: Engine idling may become rough or unstable, with noticeable fluctuations in RPM (Revolutions Per Minute).
- Poor Fuel Efficiency: A malfunctioning valve can lead to decreased fuel efficiency and increased fuel consumption.
- Hesitation or Stalling: You may experience engine hesitation or stalling when accelerating.
- Strong Fuel Odor: A noticeable fuel odor, often resembling the smell of gasoline, may be present near the vehicle.
Steps to Inspect the Canister Purge Valve
Visual Inspection
To visually inspect the canister purge valve, follow these steps:
- Open the vehicle’s hood or access the area where the valve is located.
- Examine the valve for physical damage, such as cracks, corrosion, or loose connections.
- Ensure all hoses and wires connected to the valve are intact and properly attached.
- Check for signs of vacuum leaks, which could affect the valve’s operation.
Functional Testing
To conduct a functional test of the canister purge valve:
- With the engine off, disconnect the hose leading to the intake manifold side of the valve.
- Apply a vacuum to the valve using a hand-held vacuum pump.
- Observe whether the valve opens and closes as vacuum is applied and released. It should open and close smoothly without sticking.
- If the valve fails to open or close properly, it may be malfunctioning.
Using an OBD-II Scanner
If you have access to an OBD-II scanner, you can perform a more comprehensive diagnostic check:
- Plug the OBD-II scanner into the vehicle’s diagnostic port, typically located beneath the dashboard near the steering column.
- Turn the ignition key to the “On” position without starting the engine.
- Use the scanner to retrieve diagnostic trouble codes (DTCs) from the vehicle’s computer.
- Look for specific codes related to the evaporative emission control system or the canister purge valve.
Common codes include P0441 (Evaporative Emission Control System Incorrect Purge Flow) or P0443 (Evaporative Emission Control System Purge Control Valve Circuit).
Canister Purge Valve Replacement

When Is Replacement Necessary?
Clear Indicators of a Faulty Valve
Replacement becomes necessary when the canister purge valve exhibits any of the following signs:
- Continued presence of diagnostic trouble codes (DTCs) related to the valve, such as P0441 or P0443, after thorough inspection and testing.
- Physical damage, such as cracks, leaks, or corroded connections.
- The valve fails the functional test, showing an inability to open and close properly.
- Severe drivability issues, such as stalling or poor idling, attributed to the valve’s malfunction.
- Strong fuel odors or unexplained increases in fuel consumption that persist after other potential issues have been ruled out.
Step-by-Step Replacement Guide
Tools and Materials Needed
To replace the canister purge valve, you’ll require the following tools and materials:
- New canister purge valve compatible with your vehicle. (select one from the link I have shared with you)
- Socket and ratchet set.
- Screwdrivers (flathead and Phillips).
- Pliers.
- Safety glasses and gloves.
- Jack and jack stands (if necessary).
Step 1: Disconnecting the Battery
As a safety precaution, start by disconnecting the vehicle’s battery to prevent any electrical mishaps during the replacement process. It’s important to isolate the power source before proceeding further.
Step 2: Locating and Accessing the Valve
Refer to the service manual for your specific vehicle make and model to locate the canister purge valve. It may be in the engine compartment or underneath the vehicle, as discussed in a previous section.
Step 3: Removing the Old Valve
The removal process may include:
- Detaching hoses or electrical connectors connected to the valve.
- Using the appropriate tools to unfasten any mounting bolts securing the valve in place.
- Carefully pulling the old valve out of its mounting.
Step 4: Installing the New Valve
To install the new canister purge valve:
- Position the replacement valve in the same location where the old one was removed.
- Reattach hoses and electrical connectors, ensuring proper connections.
- Secure the valve in place by tightening any mounting bolts.
Step 5: Reconnecting the Battery
Reconnect the vehicle’s battery to restore electrical power. Double-check that all connections are secure before proceeding.
Step 6: Testing the New Valve
After replacement, it’s advisable to start the vehicle and perform a brief test. Ensure that the new canister purge valve functions as expected, and check for any immediate improvements in drivability and emissions.
Safety Precautions During Replacement
Prioritize safety during the replacement process by adhering to these precautions:
- Work in a well-ventilated area to minimize exposure to potentially harmful fumes.
- Wear safety glasses and gloves to protect against any chemical or physical hazards.
- Follow vehicle-specific safety guidelines as outlined in the service manual.
- Use proper lifting equipment, such as a jack and jack stands, if required.
Canister Purge Valve Replacement Cost
Factors Influencing the Cost
Several factors influence the cost of replacing a canister purge valve. Understanding these factors can help you budget appropriately and make informed decisions regarding your vehicle’s maintenance.
- Labor Costs
Labor costs play a significant role in the overall price of a canister purge valve replacement. The amount of time it takes for a mechanic to perform the replacement can vary based on the complexity of the task and the mechanic’s hourly rate. In general, labor costs can constitute a significant portion of the total cost.
- Type of Valve Used
The type of canister purge valve used for replacement can impact the cost. OEM (Original Equipment Manufacturer) valves, which are produced by the vehicle’s manufacturer, may be more expensive than aftermarket options. Some vehicle owners prefer OEM parts for their quality and compatibility, while others opt for more affordable aftermarket alternatives.
- Vehicle Make and Model
The make and model of your vehicle can greatly influence the cost of replacing the canister purge valve. Some vehicles have more accessible valve locations and simpler installation procedures, making the labor costs lower. In contrast, high-end or complex models may require more time and effort, resulting in higher labor costs.
- Location of the Repair Shop
The geographical location of the repair shop also impacts the cost. Labor rates can vary significantly from one region to another, with urban areas generally having higher rates compared to rural areas. Choosing a shop in a less expensive location can result in cost savings.
Average Cost Range for Canister Purge Valve Replacement
On average, the cost of replacing a canister purge valve can range from $150 to $350. This estimate includes both parts and labor expenses. However, keep in mind that the final cost may fall outside this range depending on the factors mentioned earlier.
Cost Comparison: Dealership vs. Independent Mechanic
When it comes to canister purge valve replacement, vehicle owners often have the choice between dealership service centers and independent mechanics. Here’s a brief cost comparison:
-
Dealership
Dealerships typically use OEM parts, which may be more expensive but ensure compatibility and quality. The labor rates at dealerships tend to be higher, reflecting the brand’s reputation and overhead costs. As a result, canister purge valve replacement at a dealership can be on the higher end of the cost spectrum.
-
Independent Mechanic
Independent mechanics often offer competitive labor rates and may provide a range of part options, including aftermarket components. The cost of replacement at an independent shop is often more budget-friendly than at a dealership while still maintaining quality and workmanship.
The cost of replacing a canister purge valve can vary significantly based on labor costs, the type of valve used, your vehicle’s make and model, and the location of the repair shop. It’s advisable to obtain quotes from different service providers and consider the factors that matter most to you when making a decision.
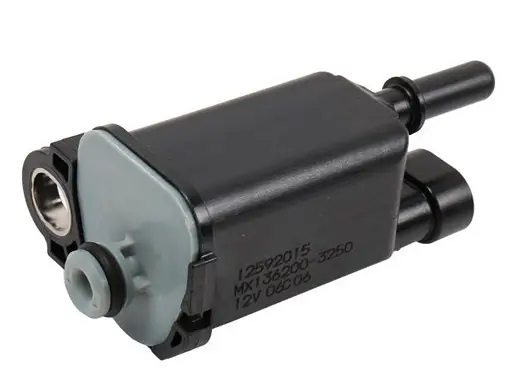
Vapor Canister Purge Valve Diagram
Understanding the Valve’s Components
To gain a clear understanding of the canister purge valve’s function and structure, let’s delve into its essential components:
- Inlet: This is the entry point for fuel vapor coming from the charcoal canister. It connects to a network of hoses that route the vapor to the valve.
- Outlet: The outlet is where the purified fuel vapor is directed into the engine’s intake manifold. It connects to the intake manifold or air intake system, ensuring the fuel vapor is drawn into the engine for combustion.
- Solenoid: At the heart of the valve is an electromagnetic solenoid. When activated, it controls the valve’s opening and closing, allowing or blocking the flow of fuel vapor based on the engine’s operational state.
- Housing: The solenoid and other internal components are housed within a durable casing that is often made of metal or high-strength plastic. The housing protects the internal components from environmental elements and mechanical stress.
Visual Representation of the Valve’s Structure
Here’s a visual representation of a typical canister purge valve’s structure:

How the Valve Fits into the Vehicle’s Emission Control System
The canister purge valve is an integral part of the vehicle’s evaporative emission control system, designed to manage fuel vapors and reduce harmful emissions. Its role in the system is as follows:
- Charcoal Canister: The system begins with the charcoal canister, which is responsible for capturing and storing fuel vapors generated when the vehicle is not in operation. These vapors can escape into the environment and contribute to pollution if not properly managed.
- Inlet: Fuel vapors from the charcoal canister are directed to the canister purge valve’s inlet. This connection ensures that the collected vapors are delivered to the valve for further processing.
- Solenoid Operation: The electromagnetic solenoid within the valve opens and closes based on signals from the vehicle’s engine control unit (ECU). When open, the valve permits the flow of fuel vapors from the canister to the engine’s intake manifold.
- Combustion: The fuel vapors, now drawn into the engine’s intake manifold, are mixed with air and introduced to the combustion process. This ensures that the hydrocarbons in the fuel vapor are burned and transformed into less harmful emissions.
- Emission Reduction: By routing and combusting fuel vapors, the canister purge valve contributes to reduced hydrocarbon emissions, making the vehicle more environmentally friendly and compliant with emission regulations.
FAQs About Canister Purge Valve
What happens when a canister purge valve fails?
When a canister purge valve fails, it can lead to rough idling, poor fuel efficiency, stalling, and increased emissions.
Where is the canister purge solenoid located?
The canister purge solenoid is typically located near the intake manifold in the engine compartment.
How do I know if my purge canister is bad?
Signs of a bad purge canister include a Check Engine Light, fuel odor, and decreased fuel economy.
What is the function of the canister purge valve?
The canister purge valve directs fuel vapors from the charcoal canister to the engine for combustion, reducing emissions.
How do you check a canister purge valve?
You can check the valve through visual inspection, functional testing, and using an OBD-II scanner.
Can you clean a purge valve?
Purge valves are not typically cleaned; they are replaced when they malfunction. Cleaning may not restore their proper function.
Conclusion
The canister purge valve is an essential component in a vehicle’s emission control system. It ensures that harmful fuel vapors are efficiently managed, reducing environmental pollution and enhancing engine performance. We’ve explored its location, inspection methods, replacement considerations, and costs. Understanding the valve’s internal structure and its role within the emission control system empowers vehicle owners to maintain their cars responsibly. By making informed choices, from diagnosis to replacement and choosing between dealerships and independent mechanics, individuals can play a vital role in minimizing their environmental footprint and ensuring their vehicles operate at their best.